

How to start block printing
A beginner's guide to carving, inking, and pulling your first prints

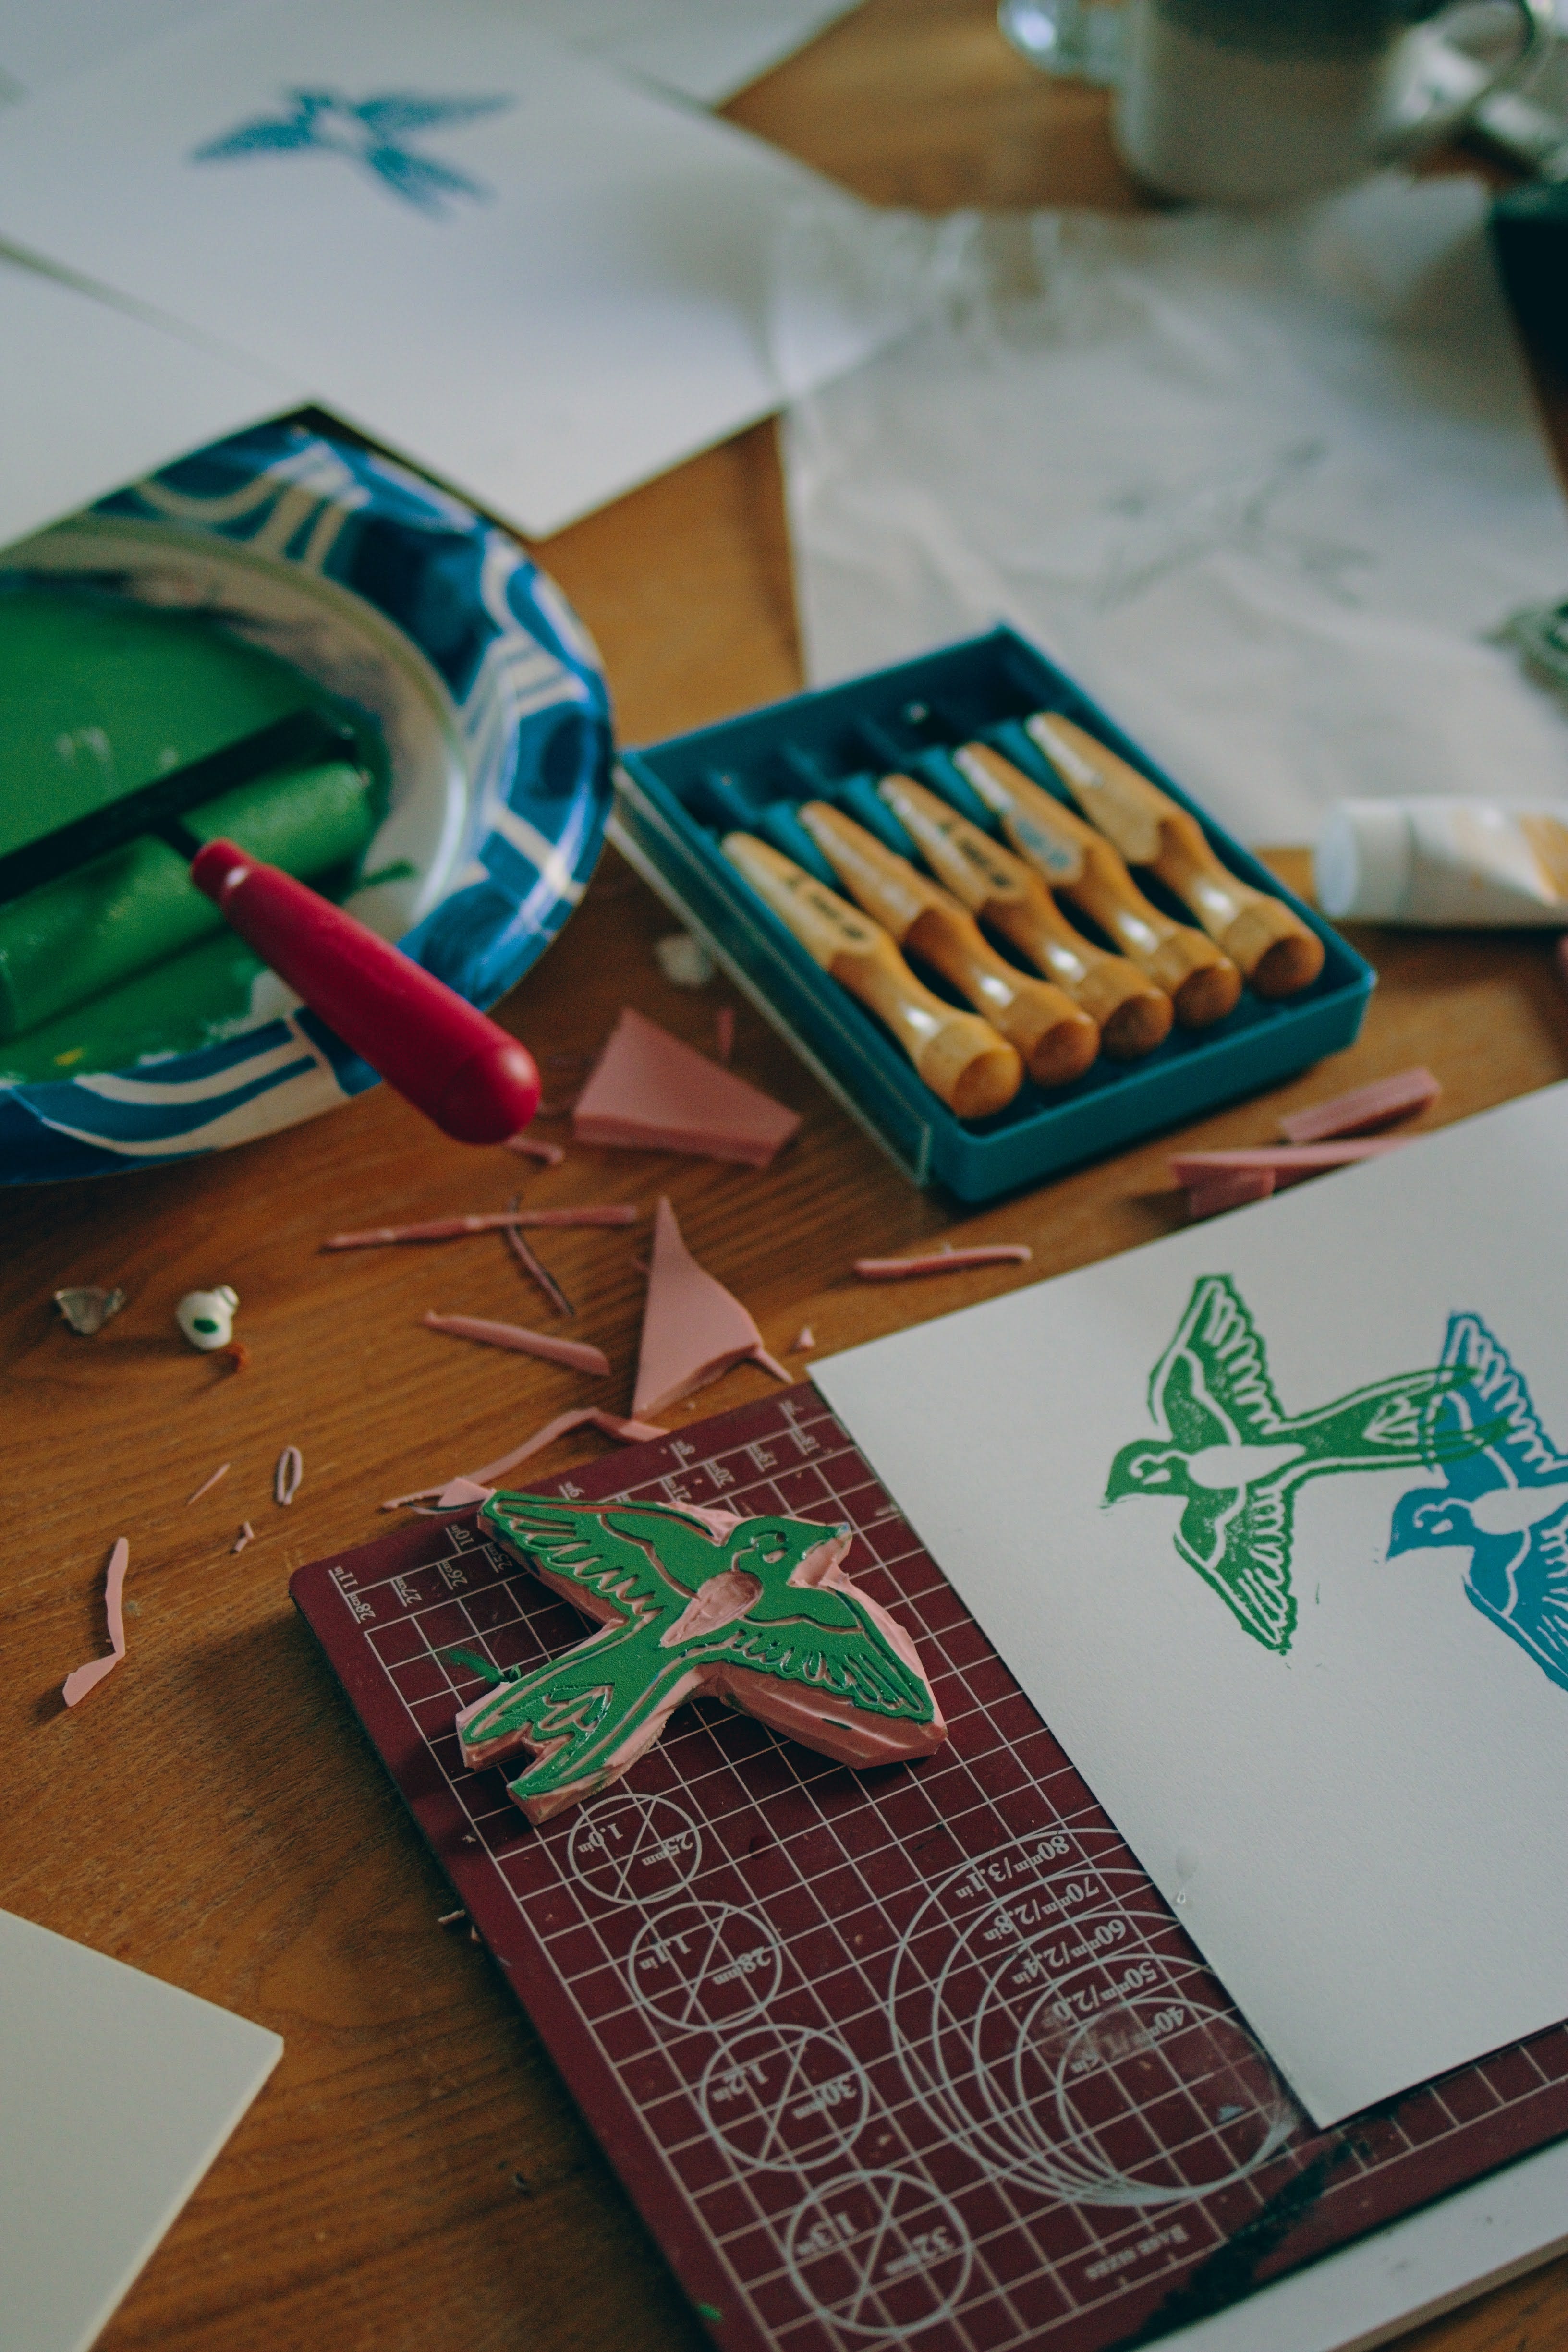
I love to start new creative hobbies. I used to think of it as a defect: the way I can walk into a craft store and spend $200 on art supplies to create something in a medium I’ve never used before. But lately I actually think it’s one of my gifts. To just jump into a new creative outlet without hesitation. To dedicate myself regardless of whether I think it’s going to become a lifelong practice or not.
It’s like a puzzle: looking at a kind of artwork you admire and then trying to figure out how it works.
Back in February, a coworker gave a few colleagues and me Valentine’s Day cards she’d created by block printing a design onto each one. I’ve had mine hanging in my office, and it’s been reminding me how much I enjoyed the single time we got to make prints in art class back in middle or high school. I don’t know exactly how many years ago that was…probably almost 20. So here we are, making prints! Better late than never.
I hope this guide will help you get started with block printing if it’s something you’ve wanted to try. But at the very least, I hope this post inspires you to go spend some money on art supplies and play.
SUPPLIES
Must Haves
I listed the brands I am using and liking where applicable, but don’t let that stop you from using something else if you already have it or prefer a different brand.
Tracing Paper
Graphite Sketch Pencils: Faber-Castell Graphic Sketch Pencil Set
Erasers: Staedtler Mars Plastic Eraser
Printmaking Blocks: Speedball Speedy Carve Blocks or Mounted Linoleum Blocks, start with smaller sizes while you’re learning, such as 3 x 4”
Permanent Markers: Sharpie Ultra Fine Tip, Black
Cutter Set: Speedball or Mikisyo Power Grip Chisel Set
Block Printing Ink Set: Speedball 6 Color Set
Inking Surface: a piece of glass from an old picture frame works great, or a paper plate in a pinch
Printmaking Paper: Strathmore 300 Series Printmaking Paper
Bandages: for when you inevitably slip
Nice to Haves
Cutting Mat
Scrap Paper: Strathmore 300 Series Newsprint Paper
Printer to print images that you may want to trace
STEP-BY-STEP PROCESS
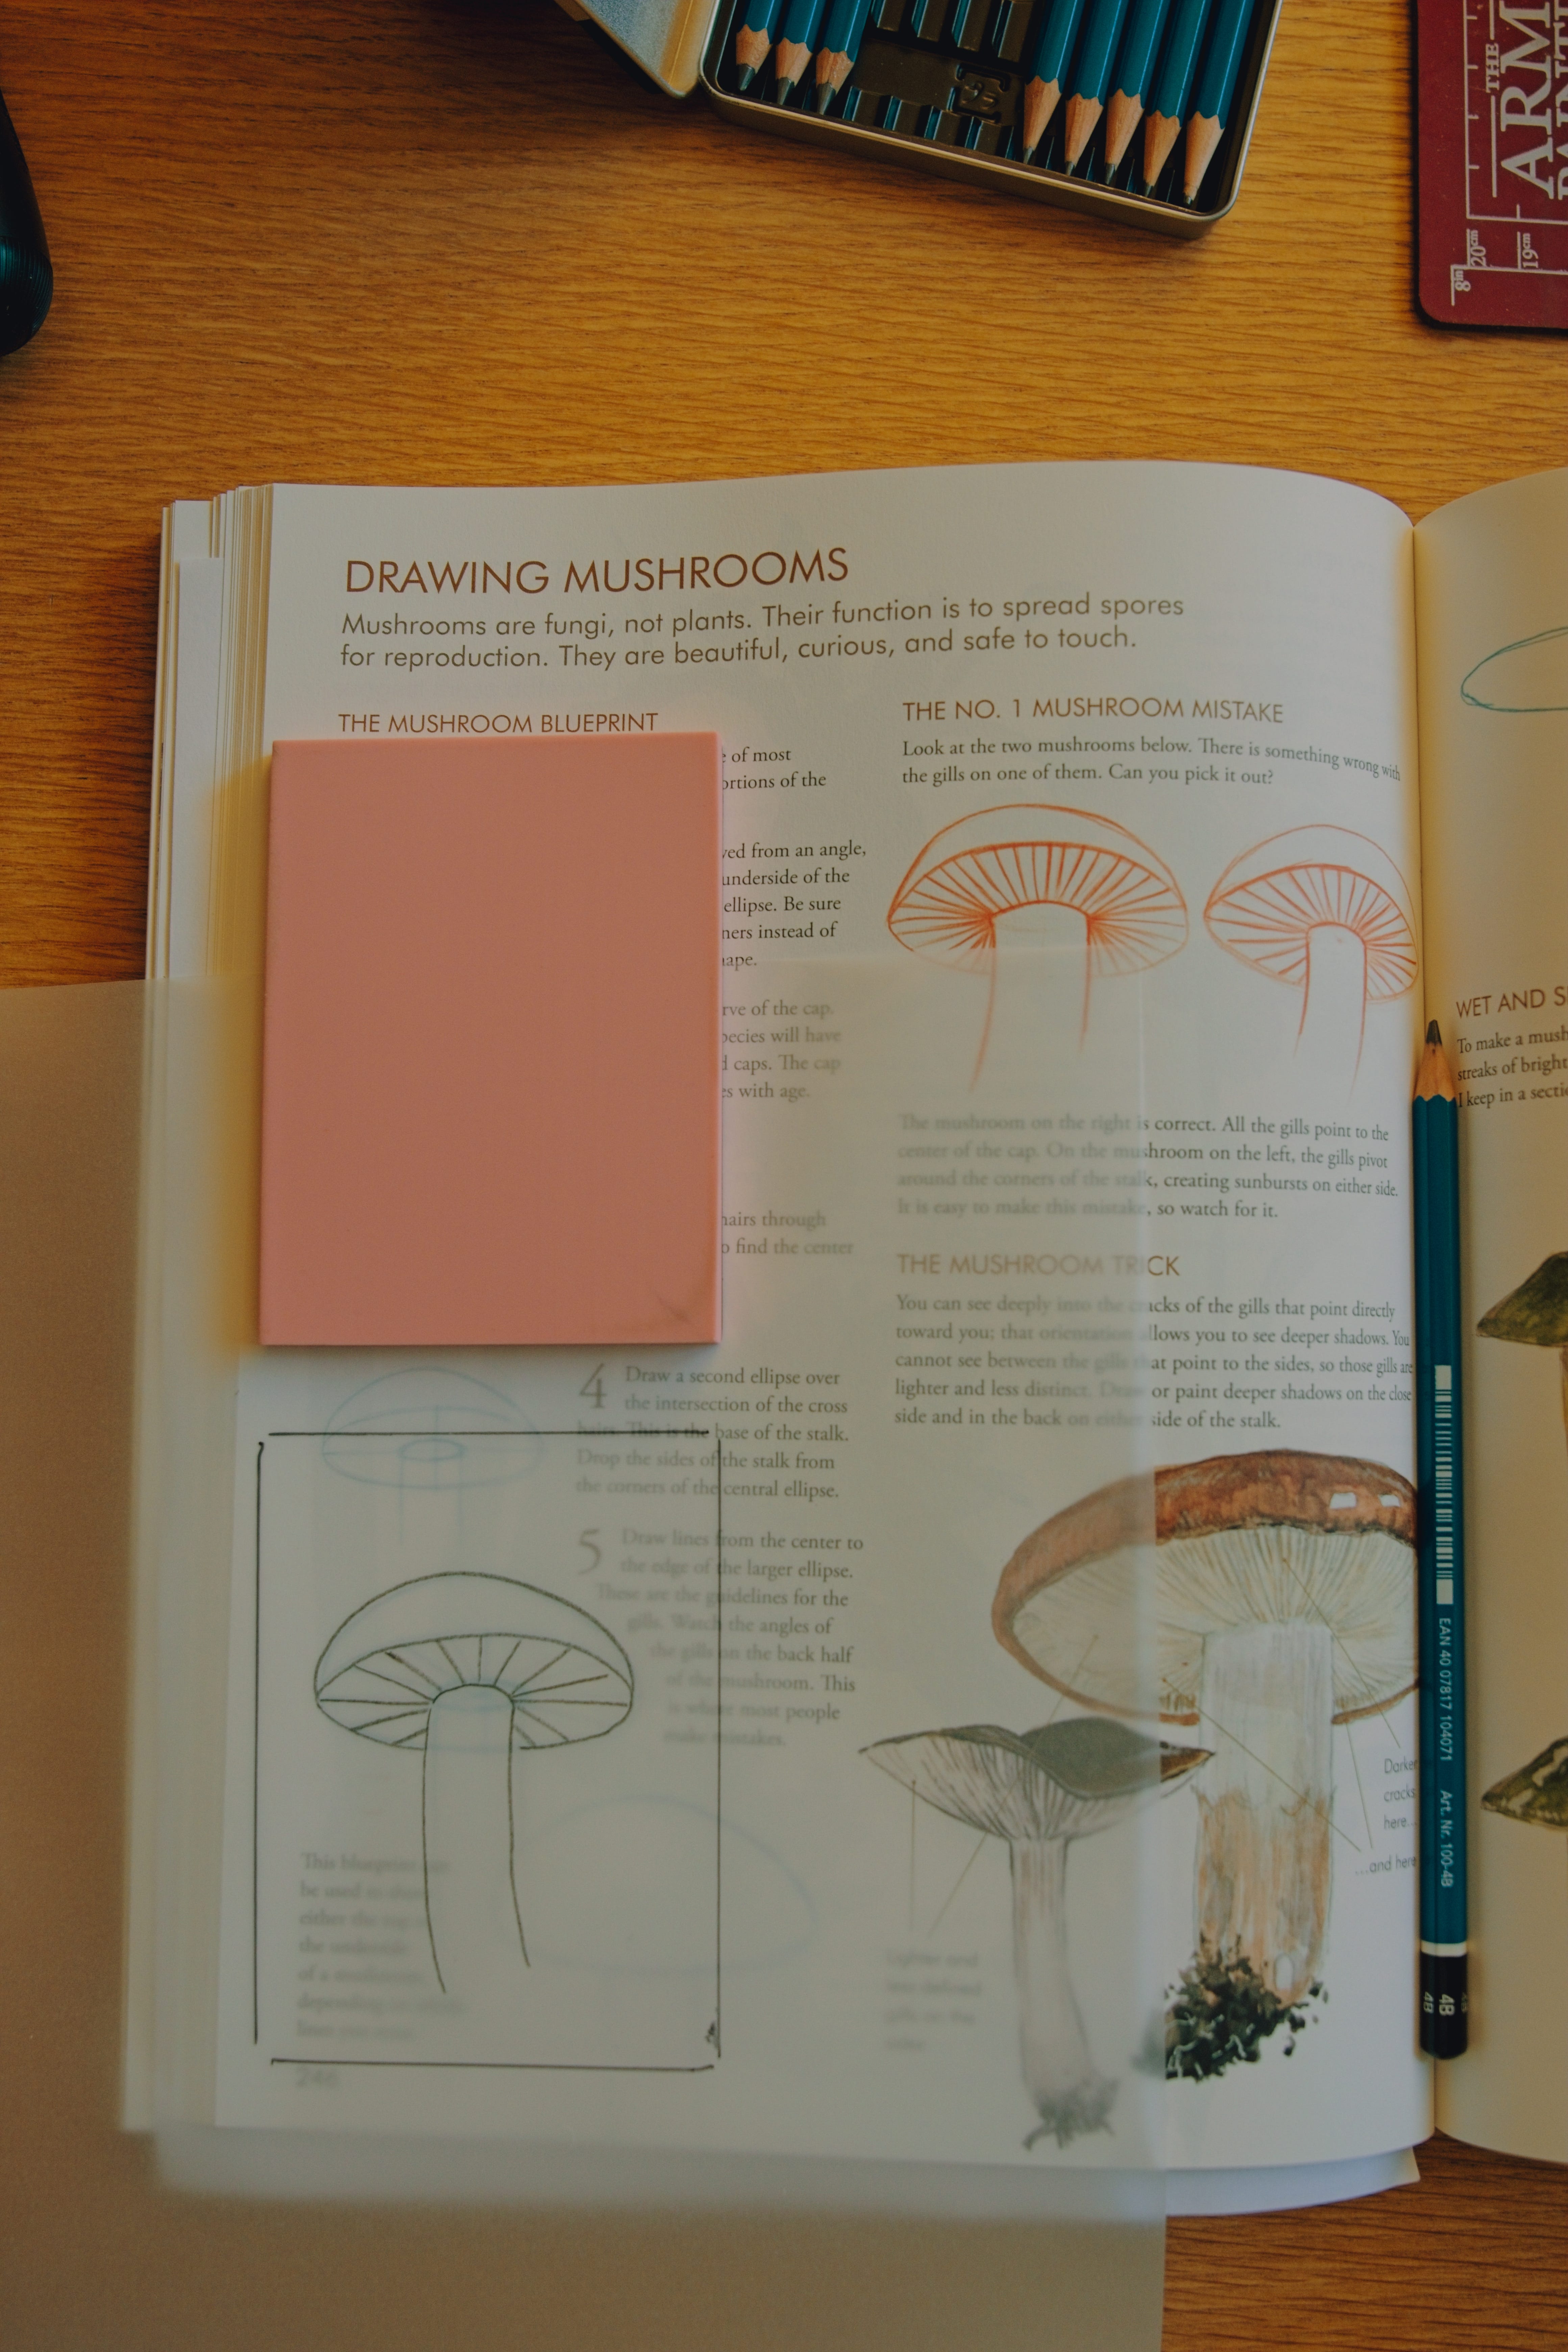
STEP 1: Draw or trace an image onto tracing paper with a graphite pencil. I like to mark the paper with the outline of my printing block so I know exactly how much space I have.
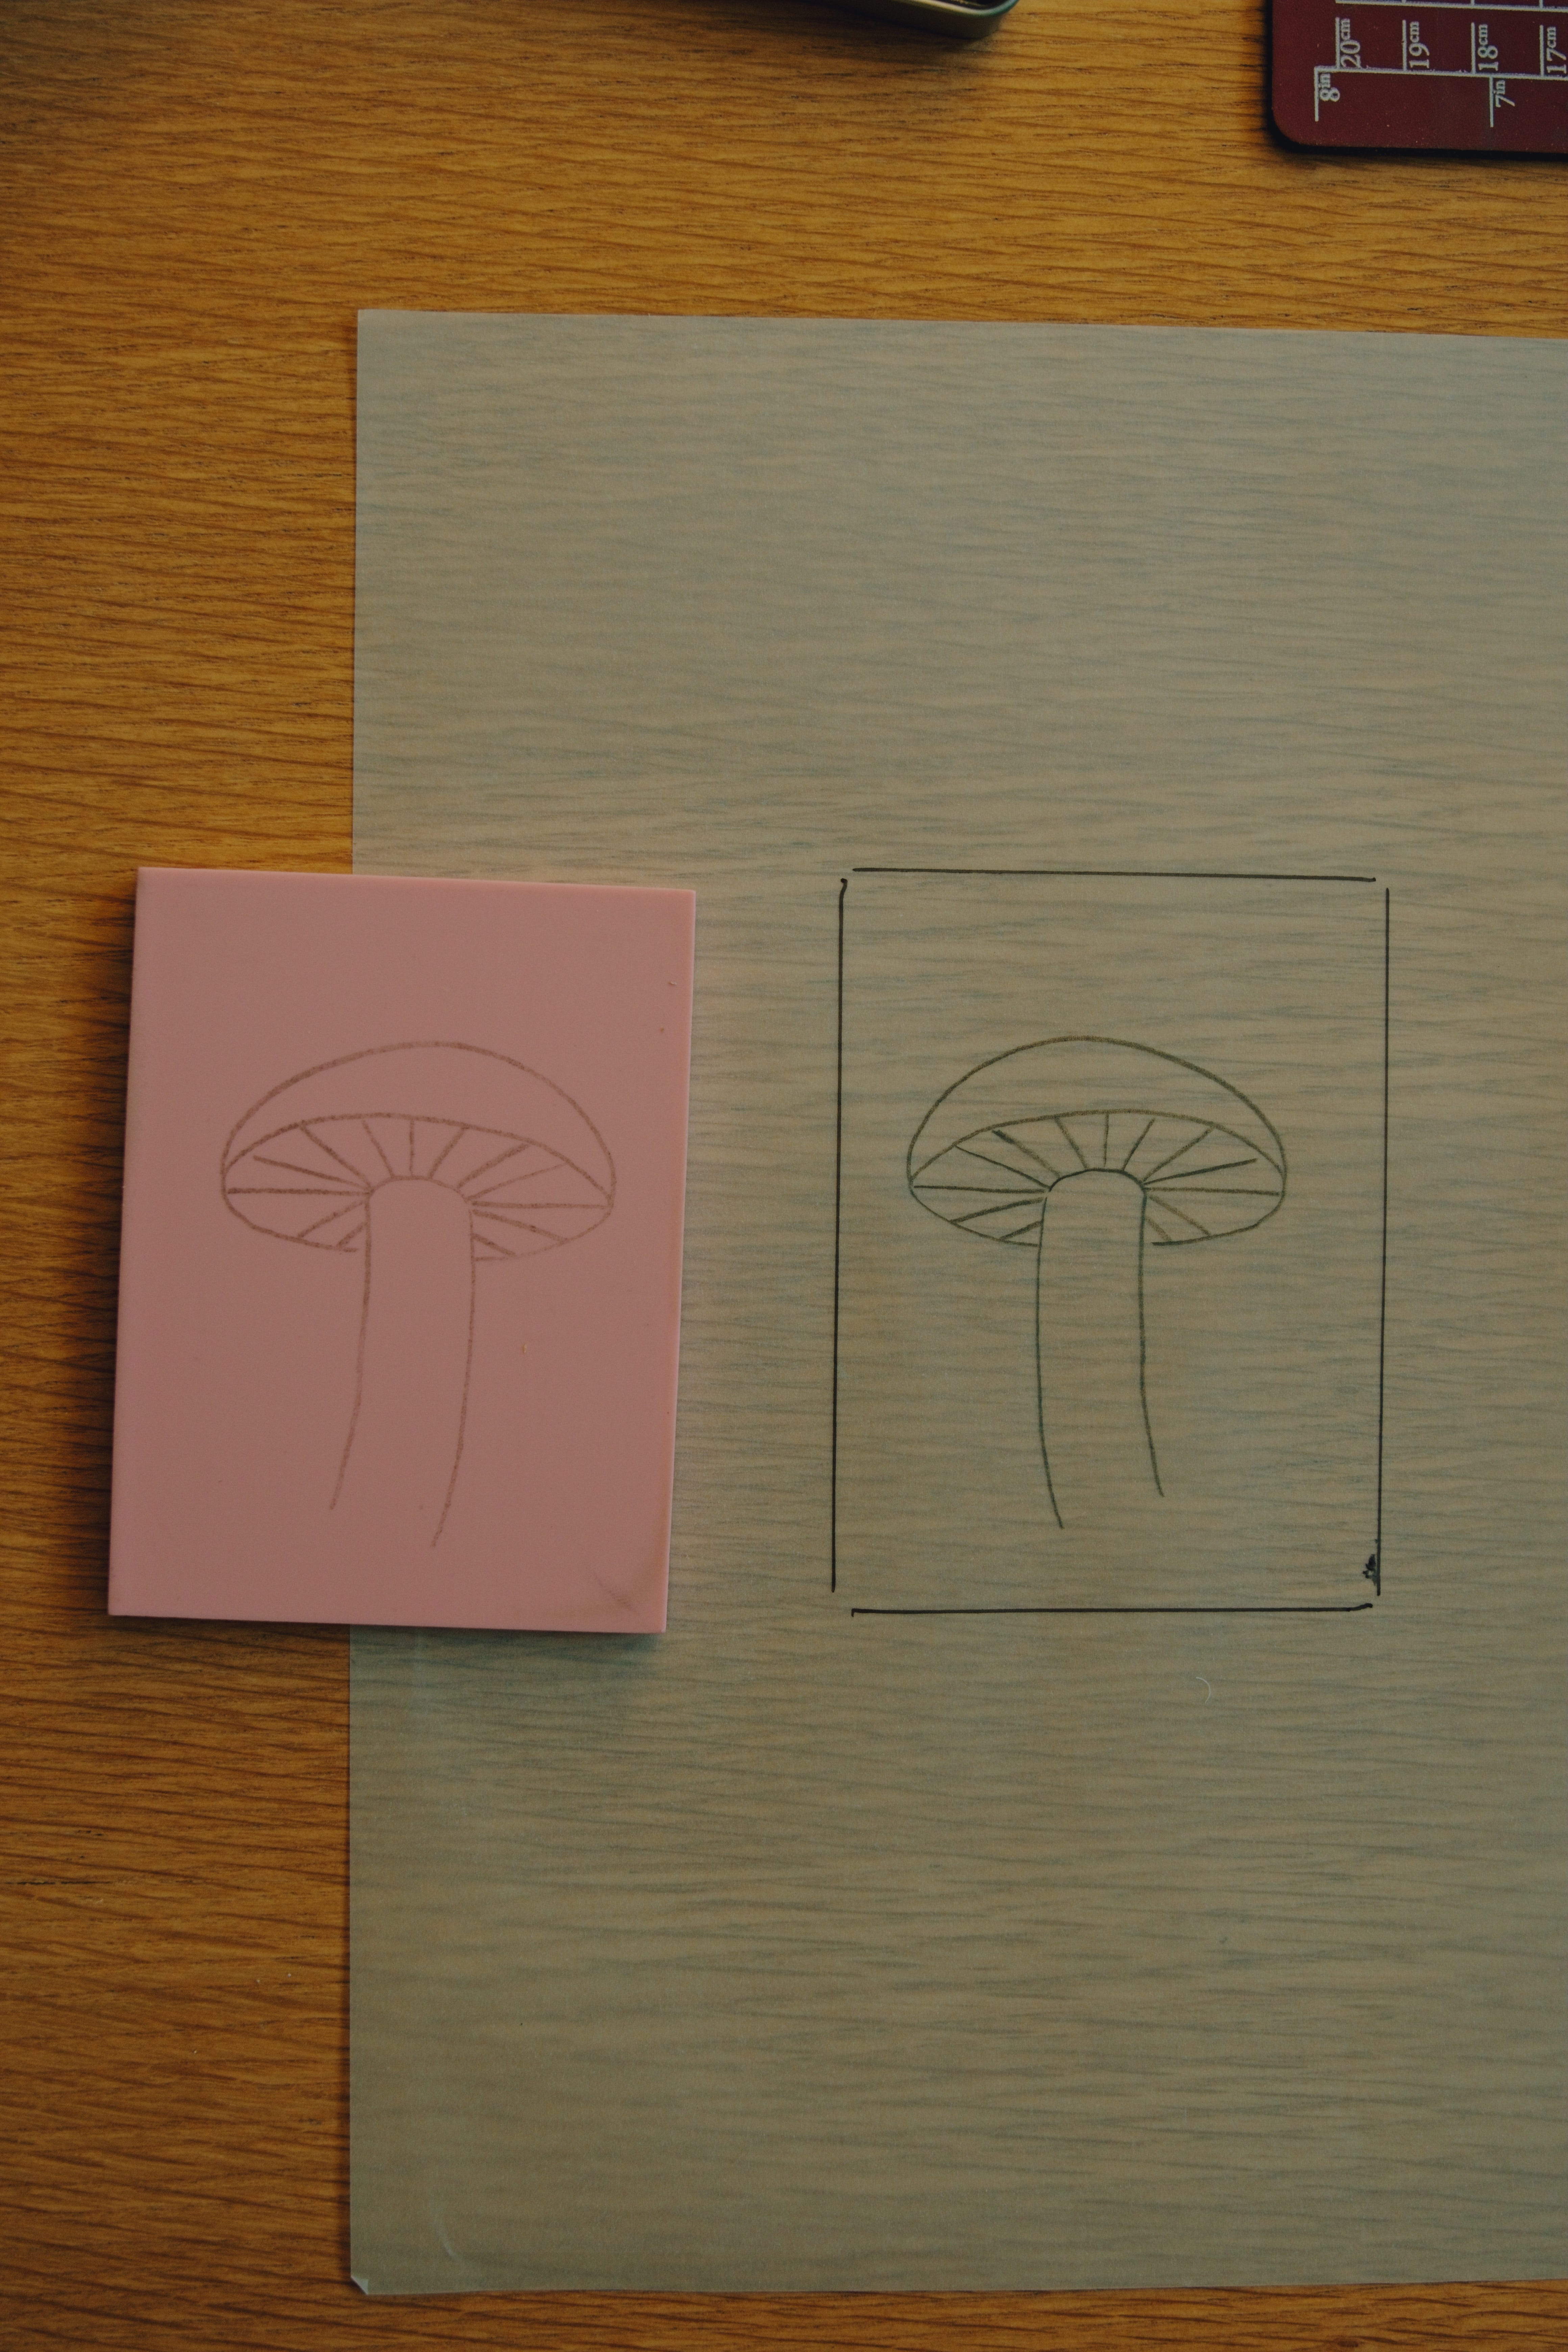
STEP 2: Place the tracing paper graphite-side down on your block and rub the back to transfer the image. Depending on how complicated the design is, you may next want to trace it with a fine-tip Sharpie. The pencil lines will smudge as you’re carving, but Sharpie won’t.
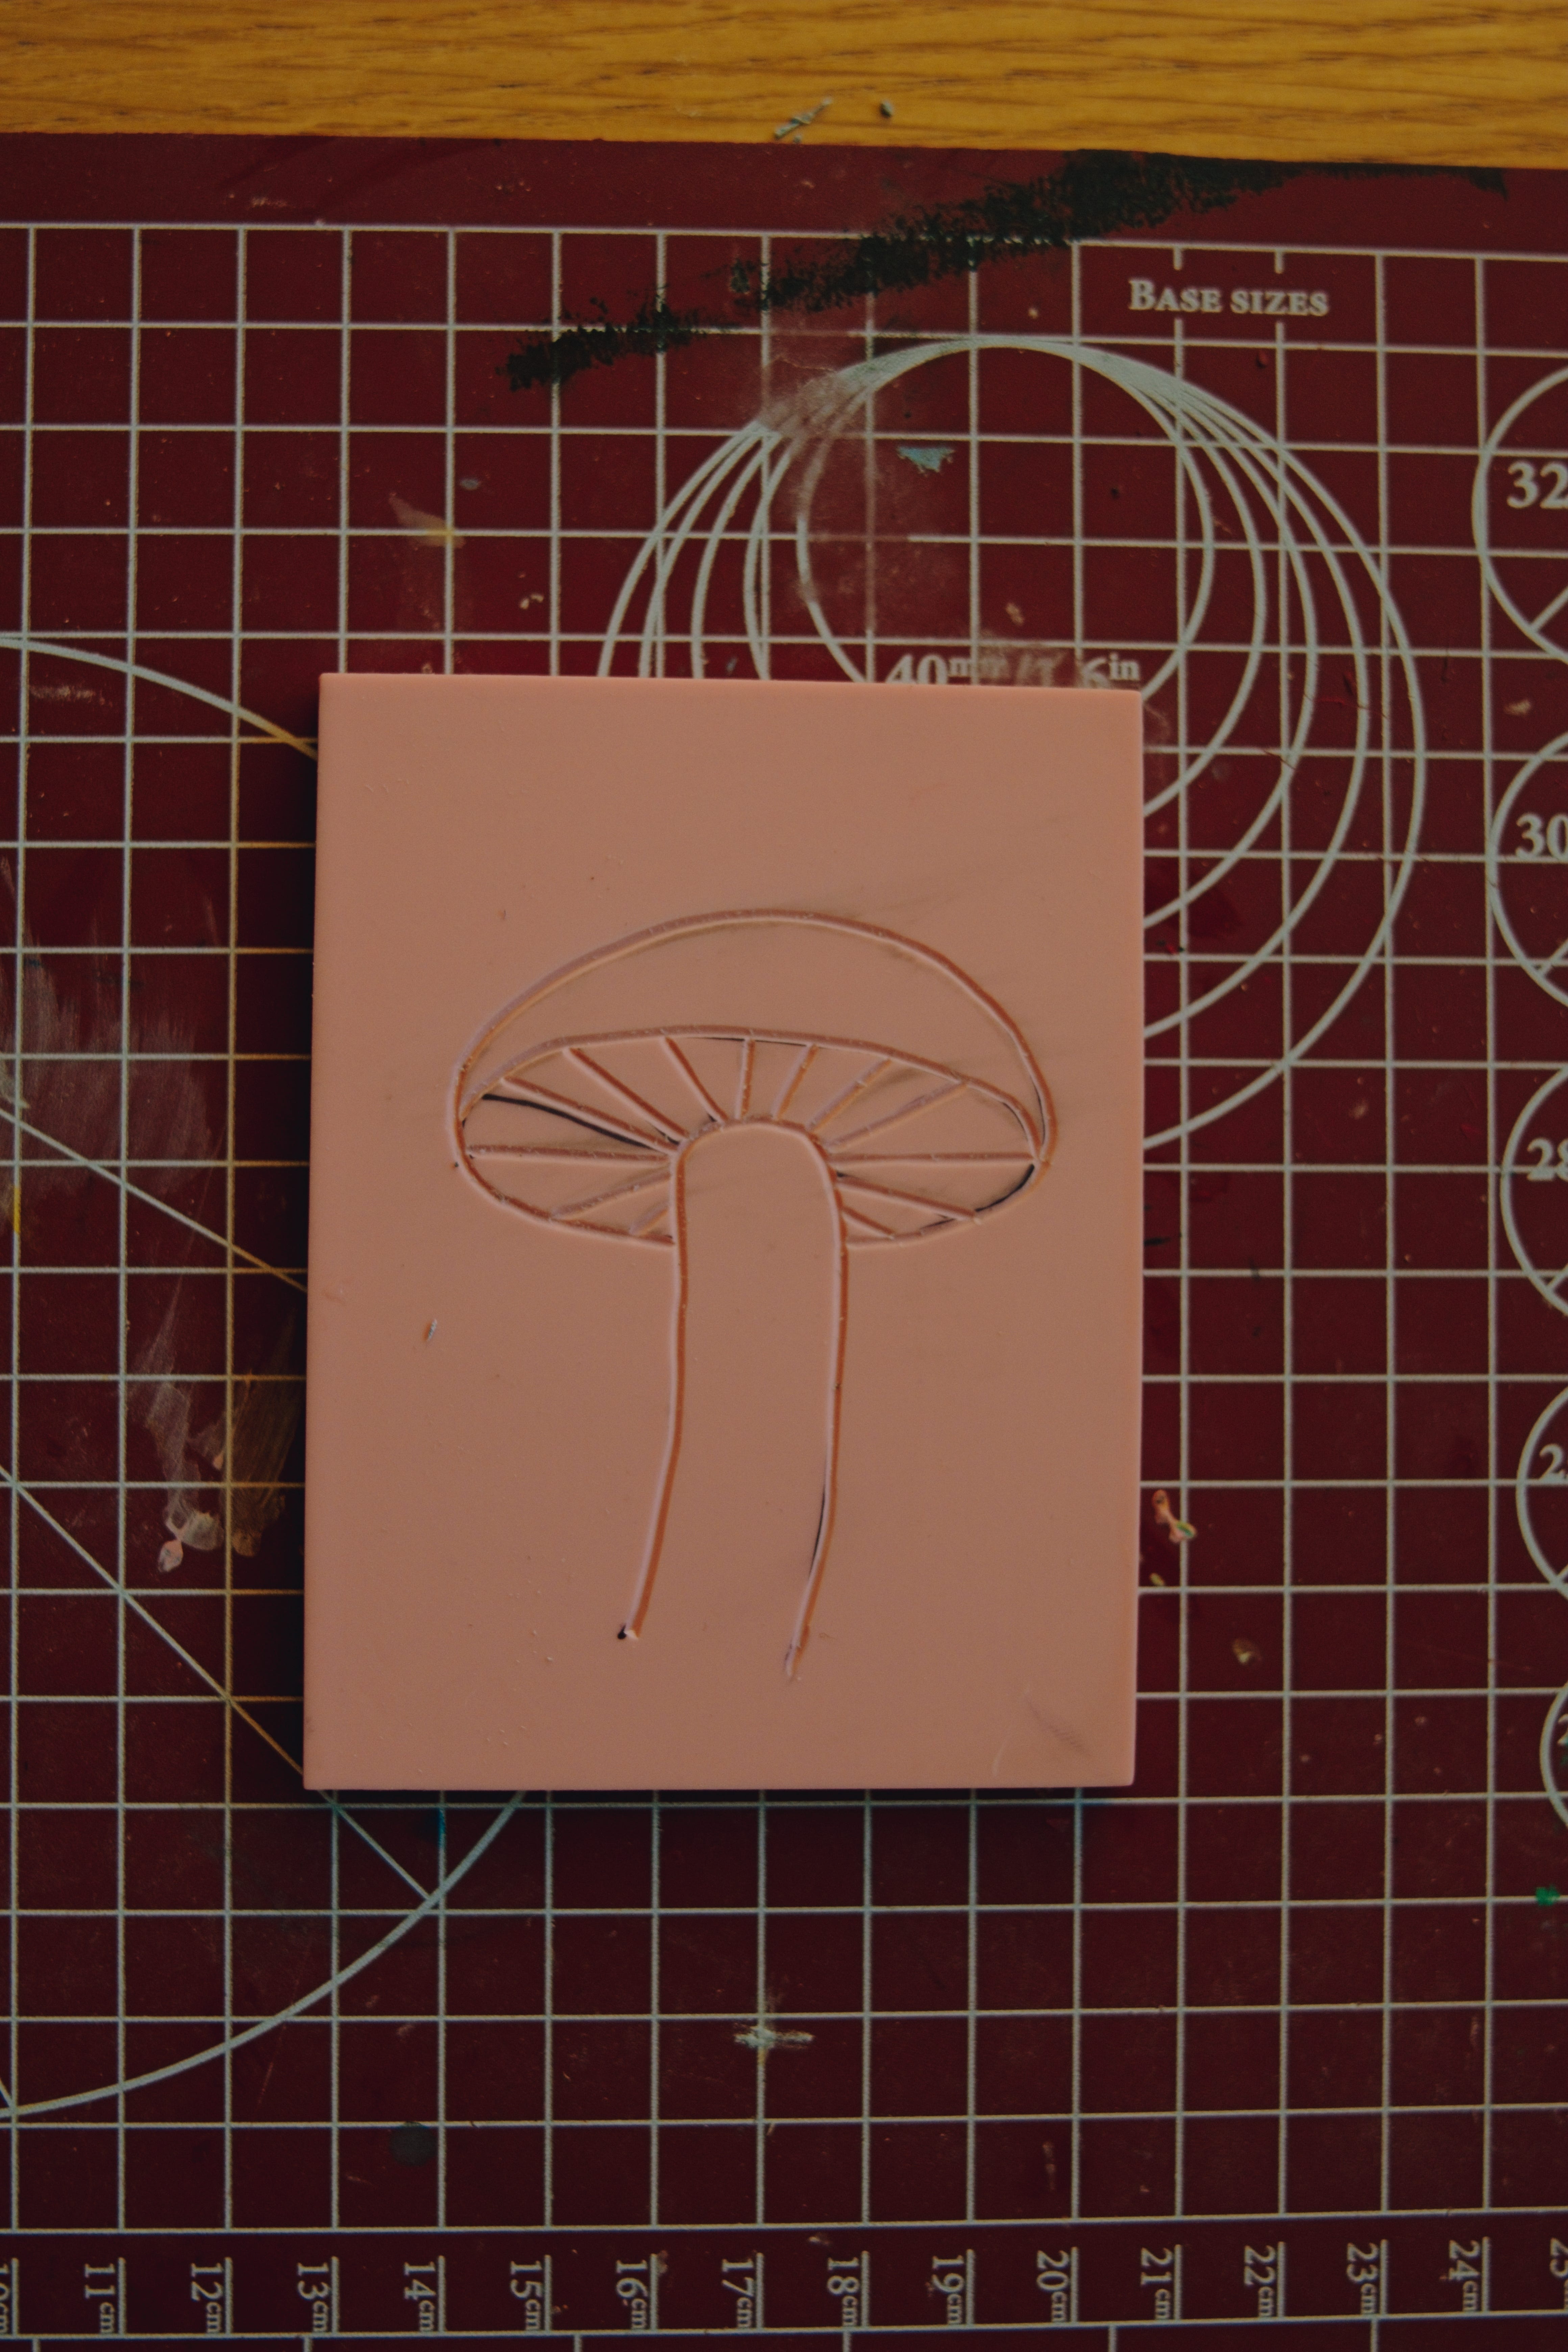
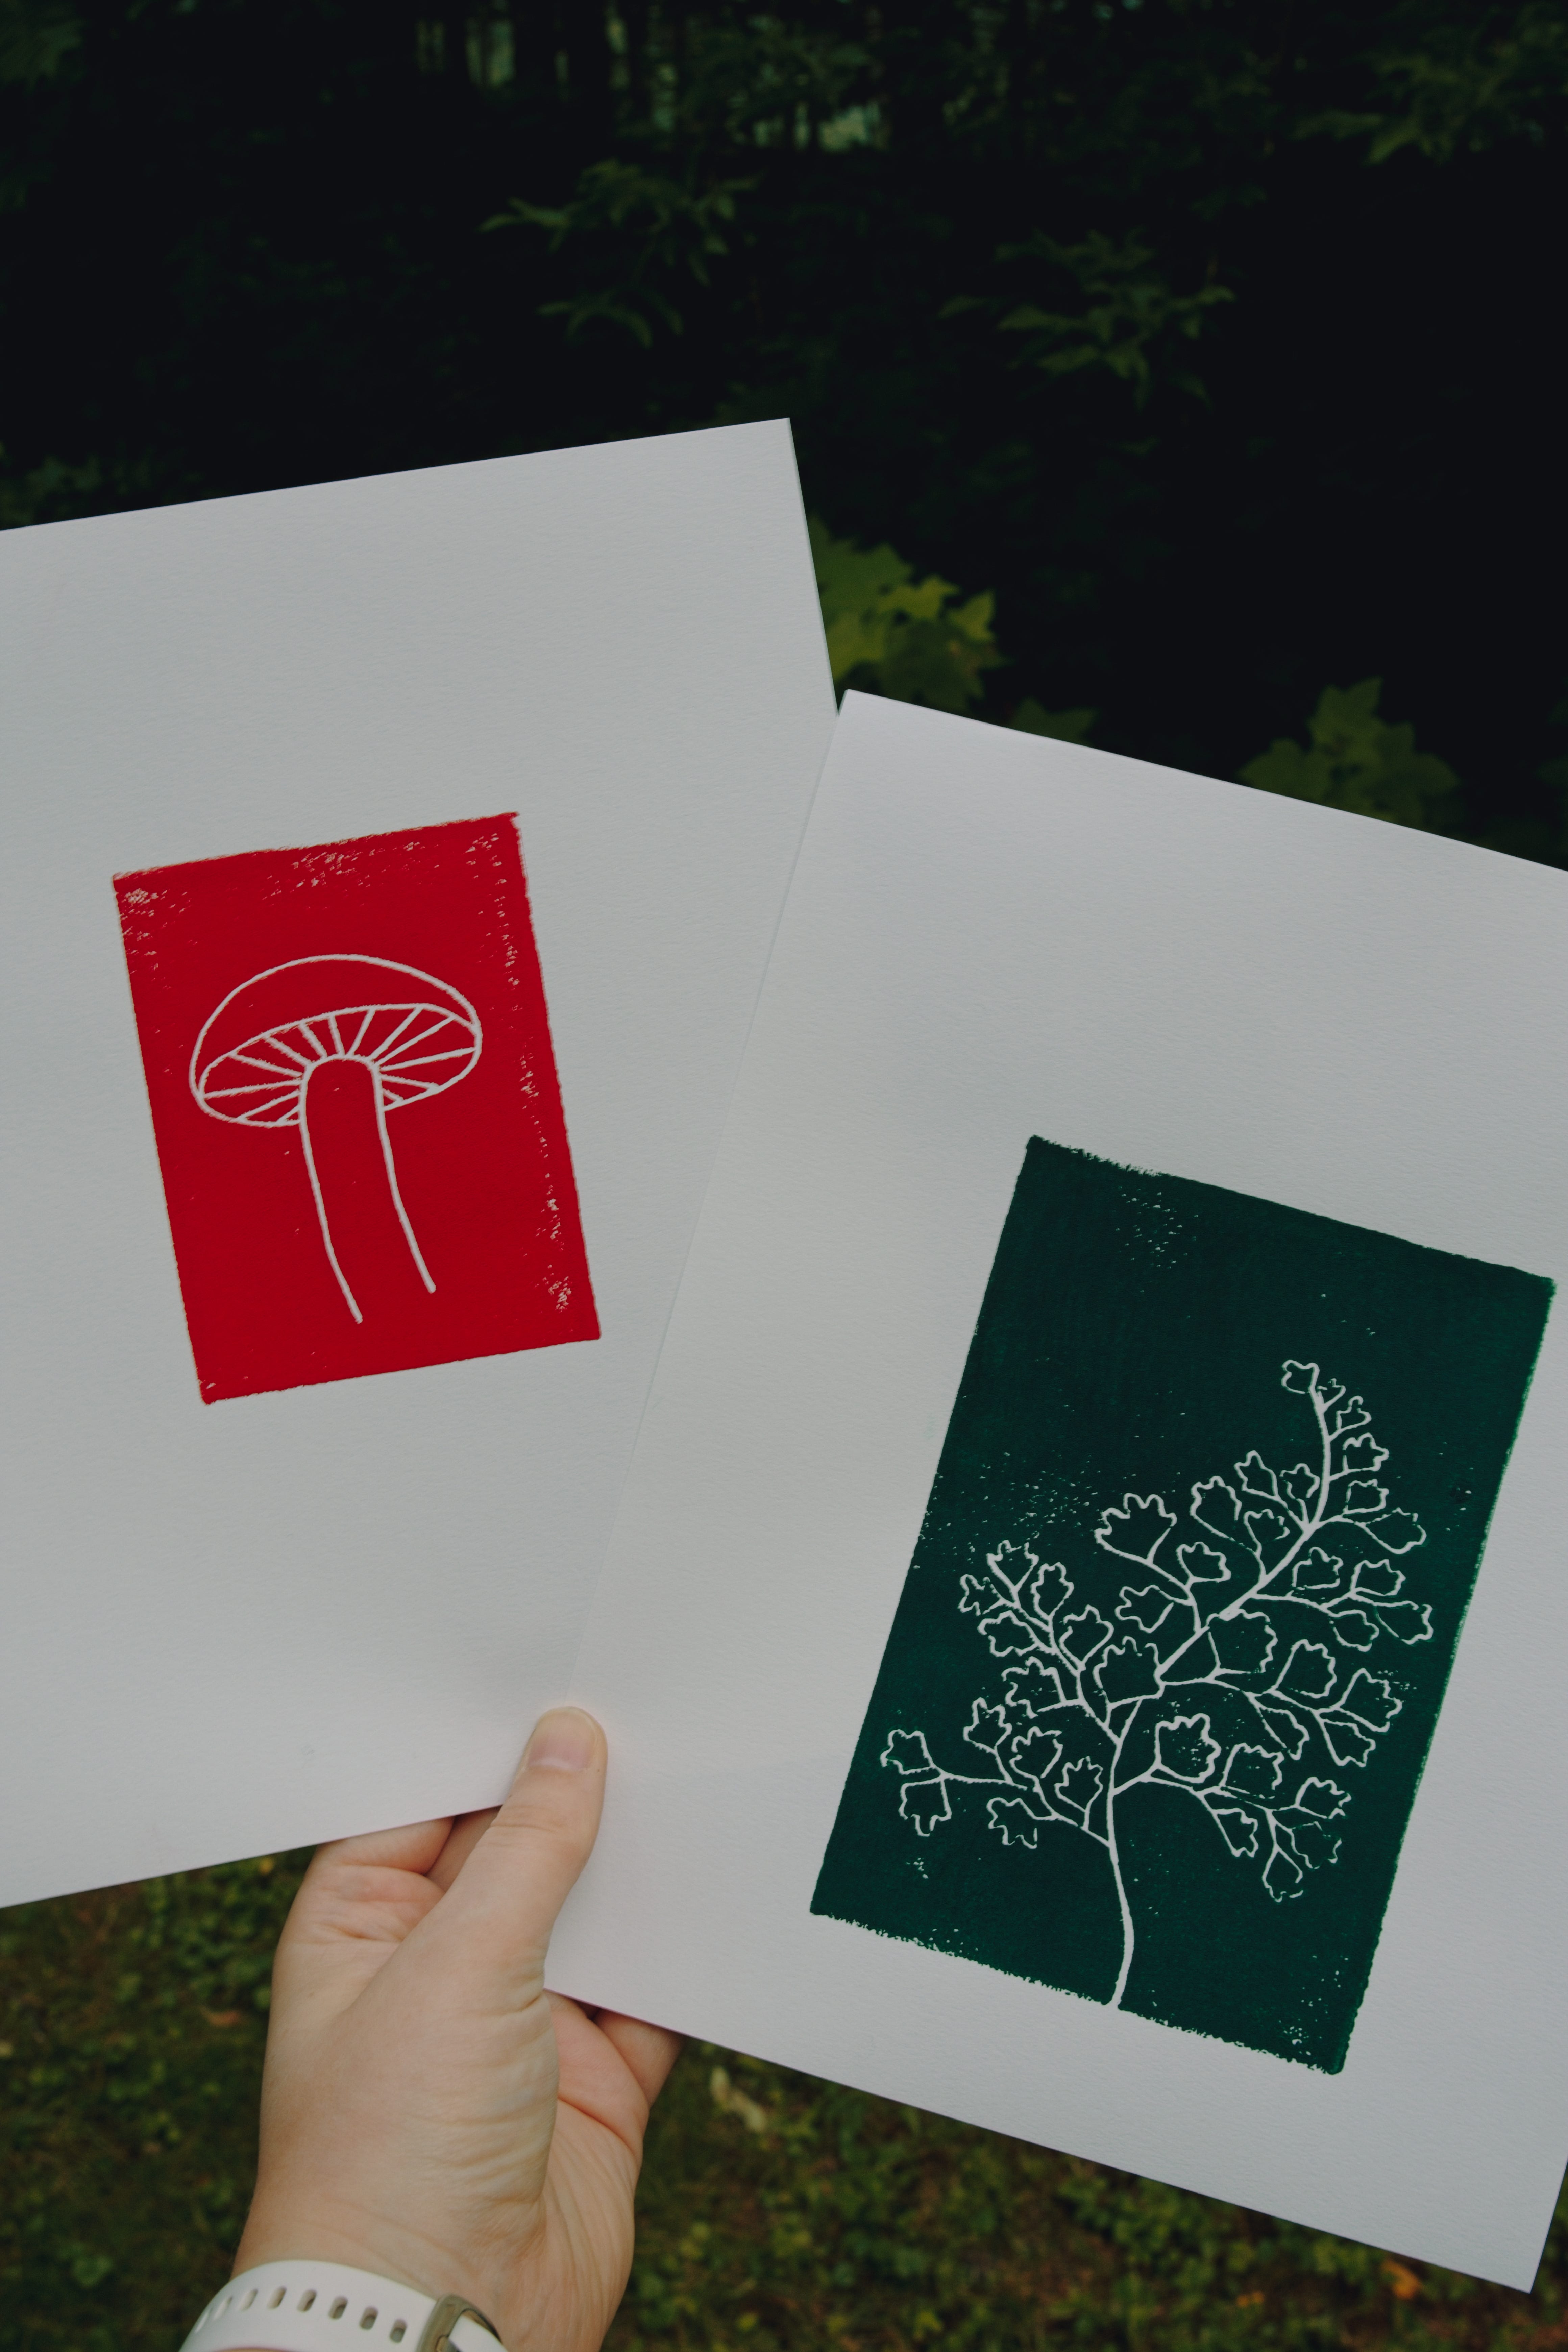
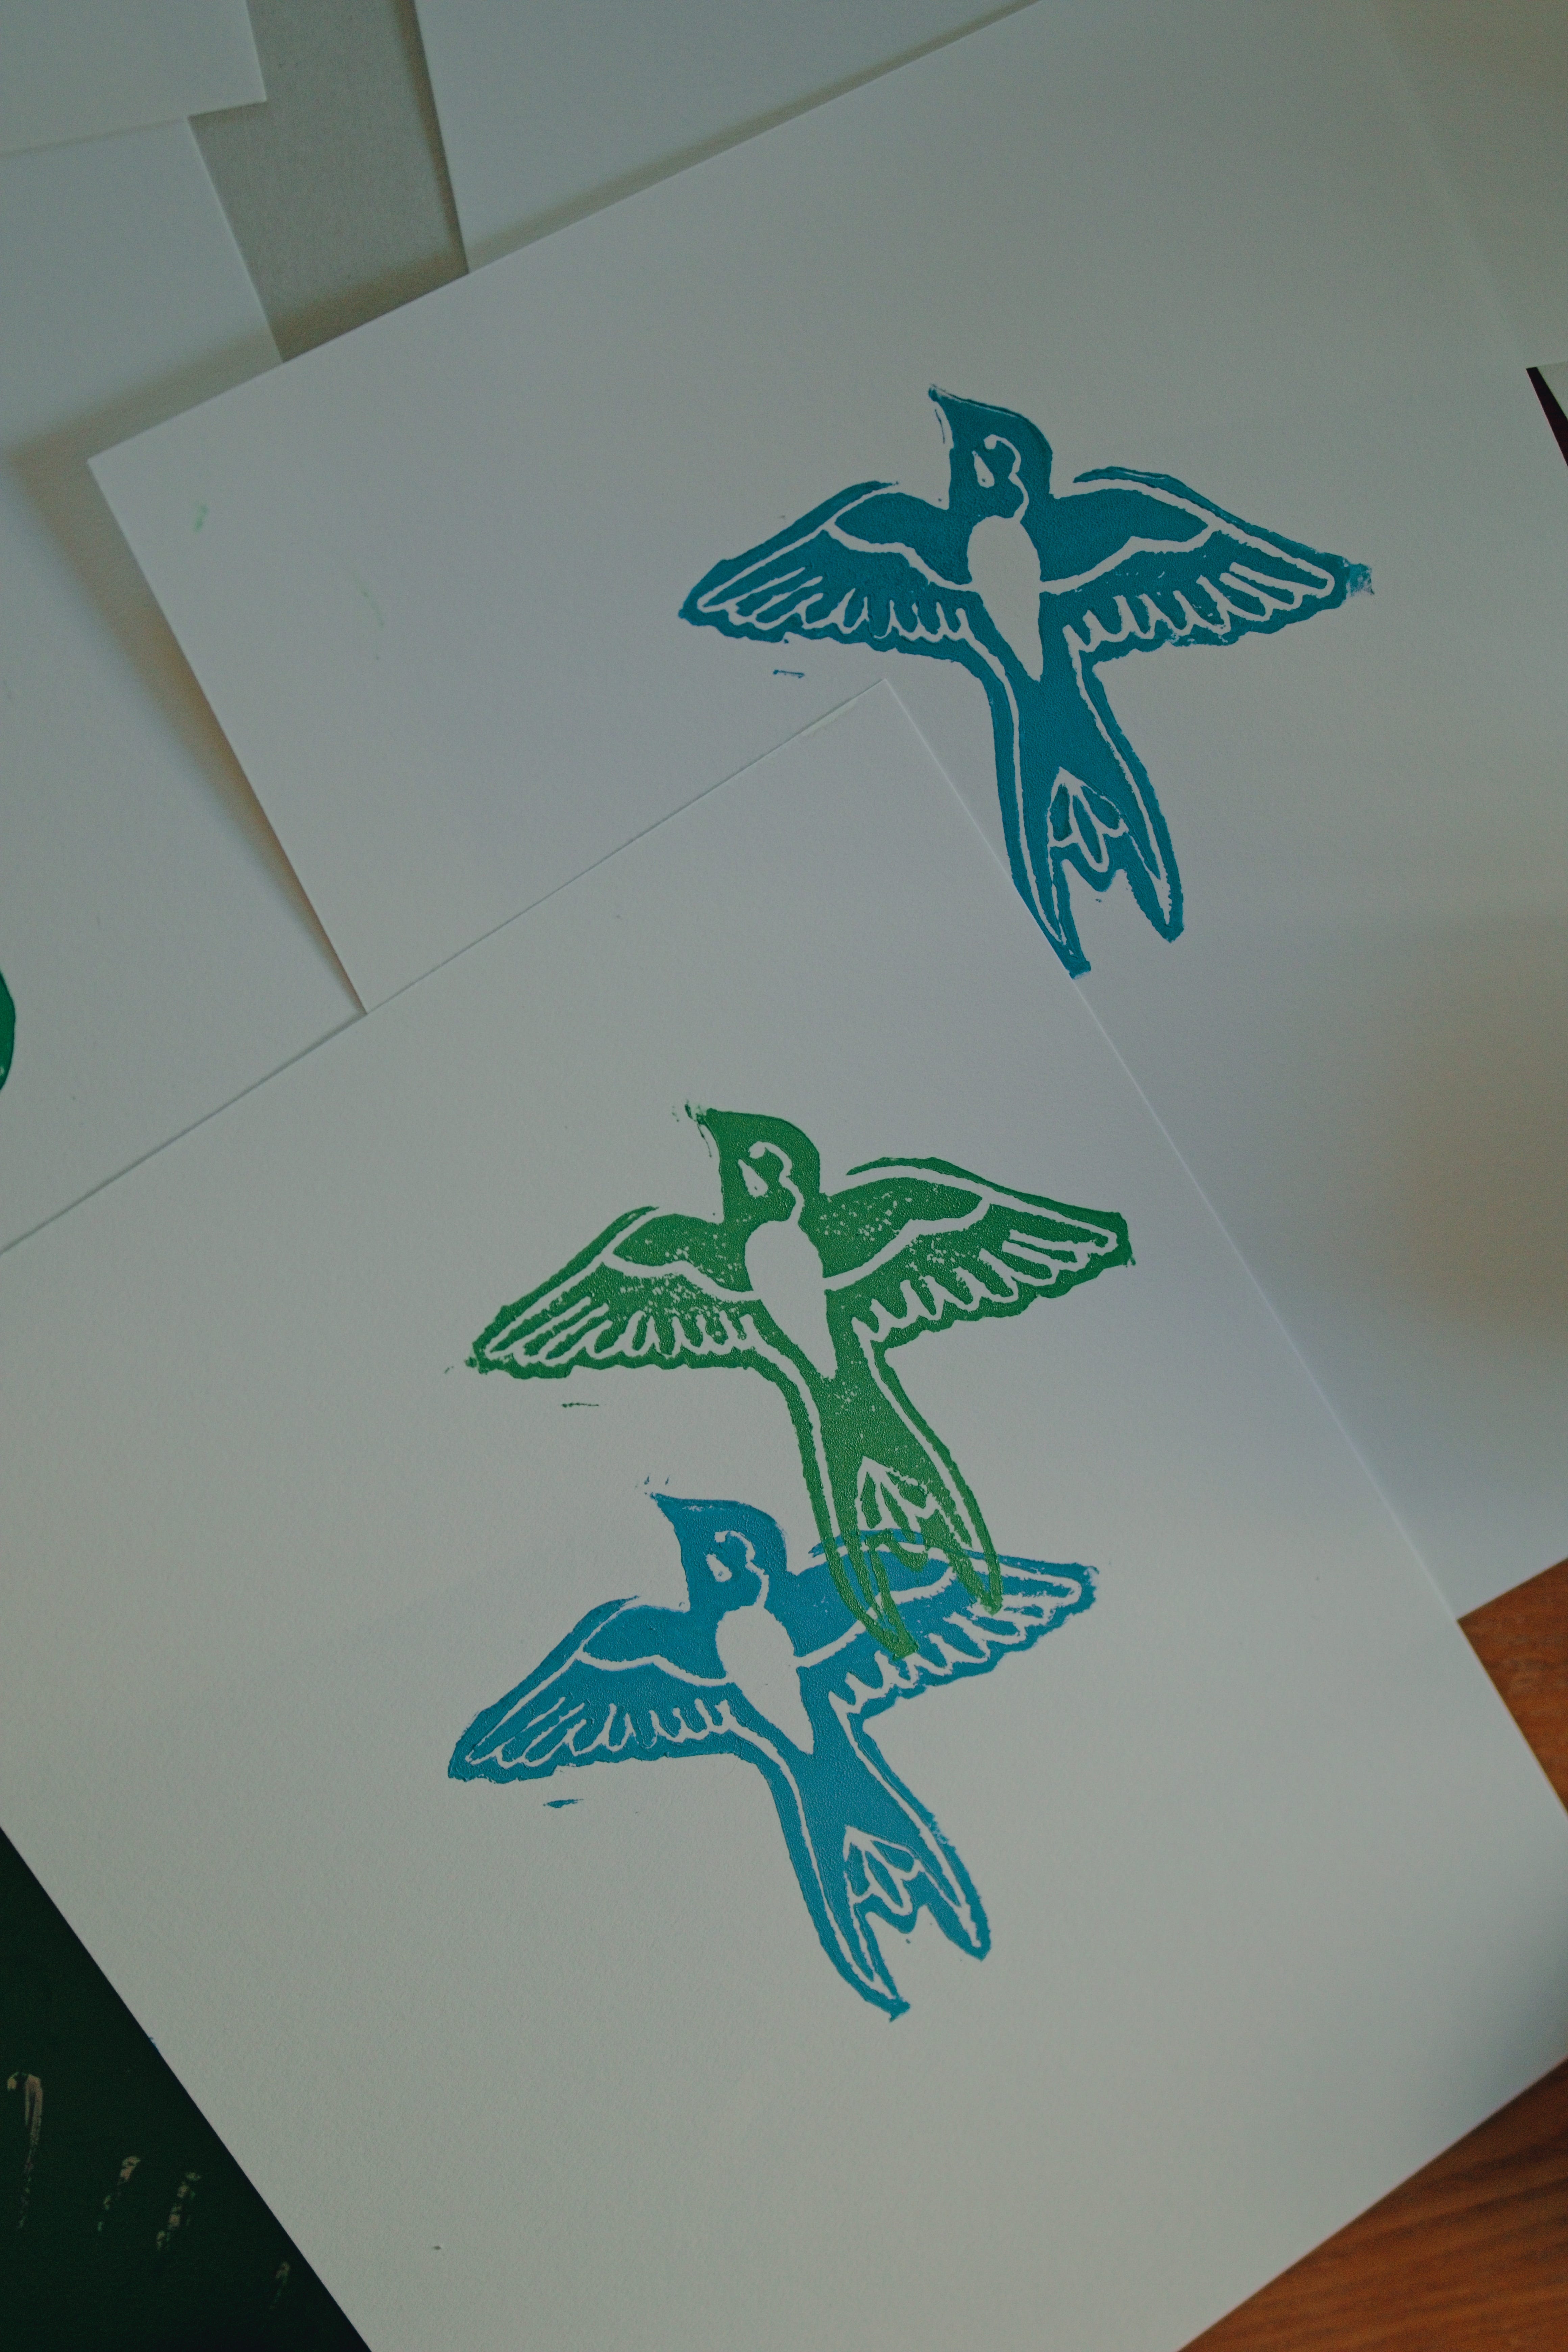
STEP 3: Begin to carve your block! There’s a learning curve here in figuring out exactly what to carve and what to leave behind. A simple way to start is to just carve the lines of your image away. As you get more experienced, you may start to play with carving away more of the background, or consider how to incorporate multiple colors by creating the same design on multiple blocks, each with different parts carved away.
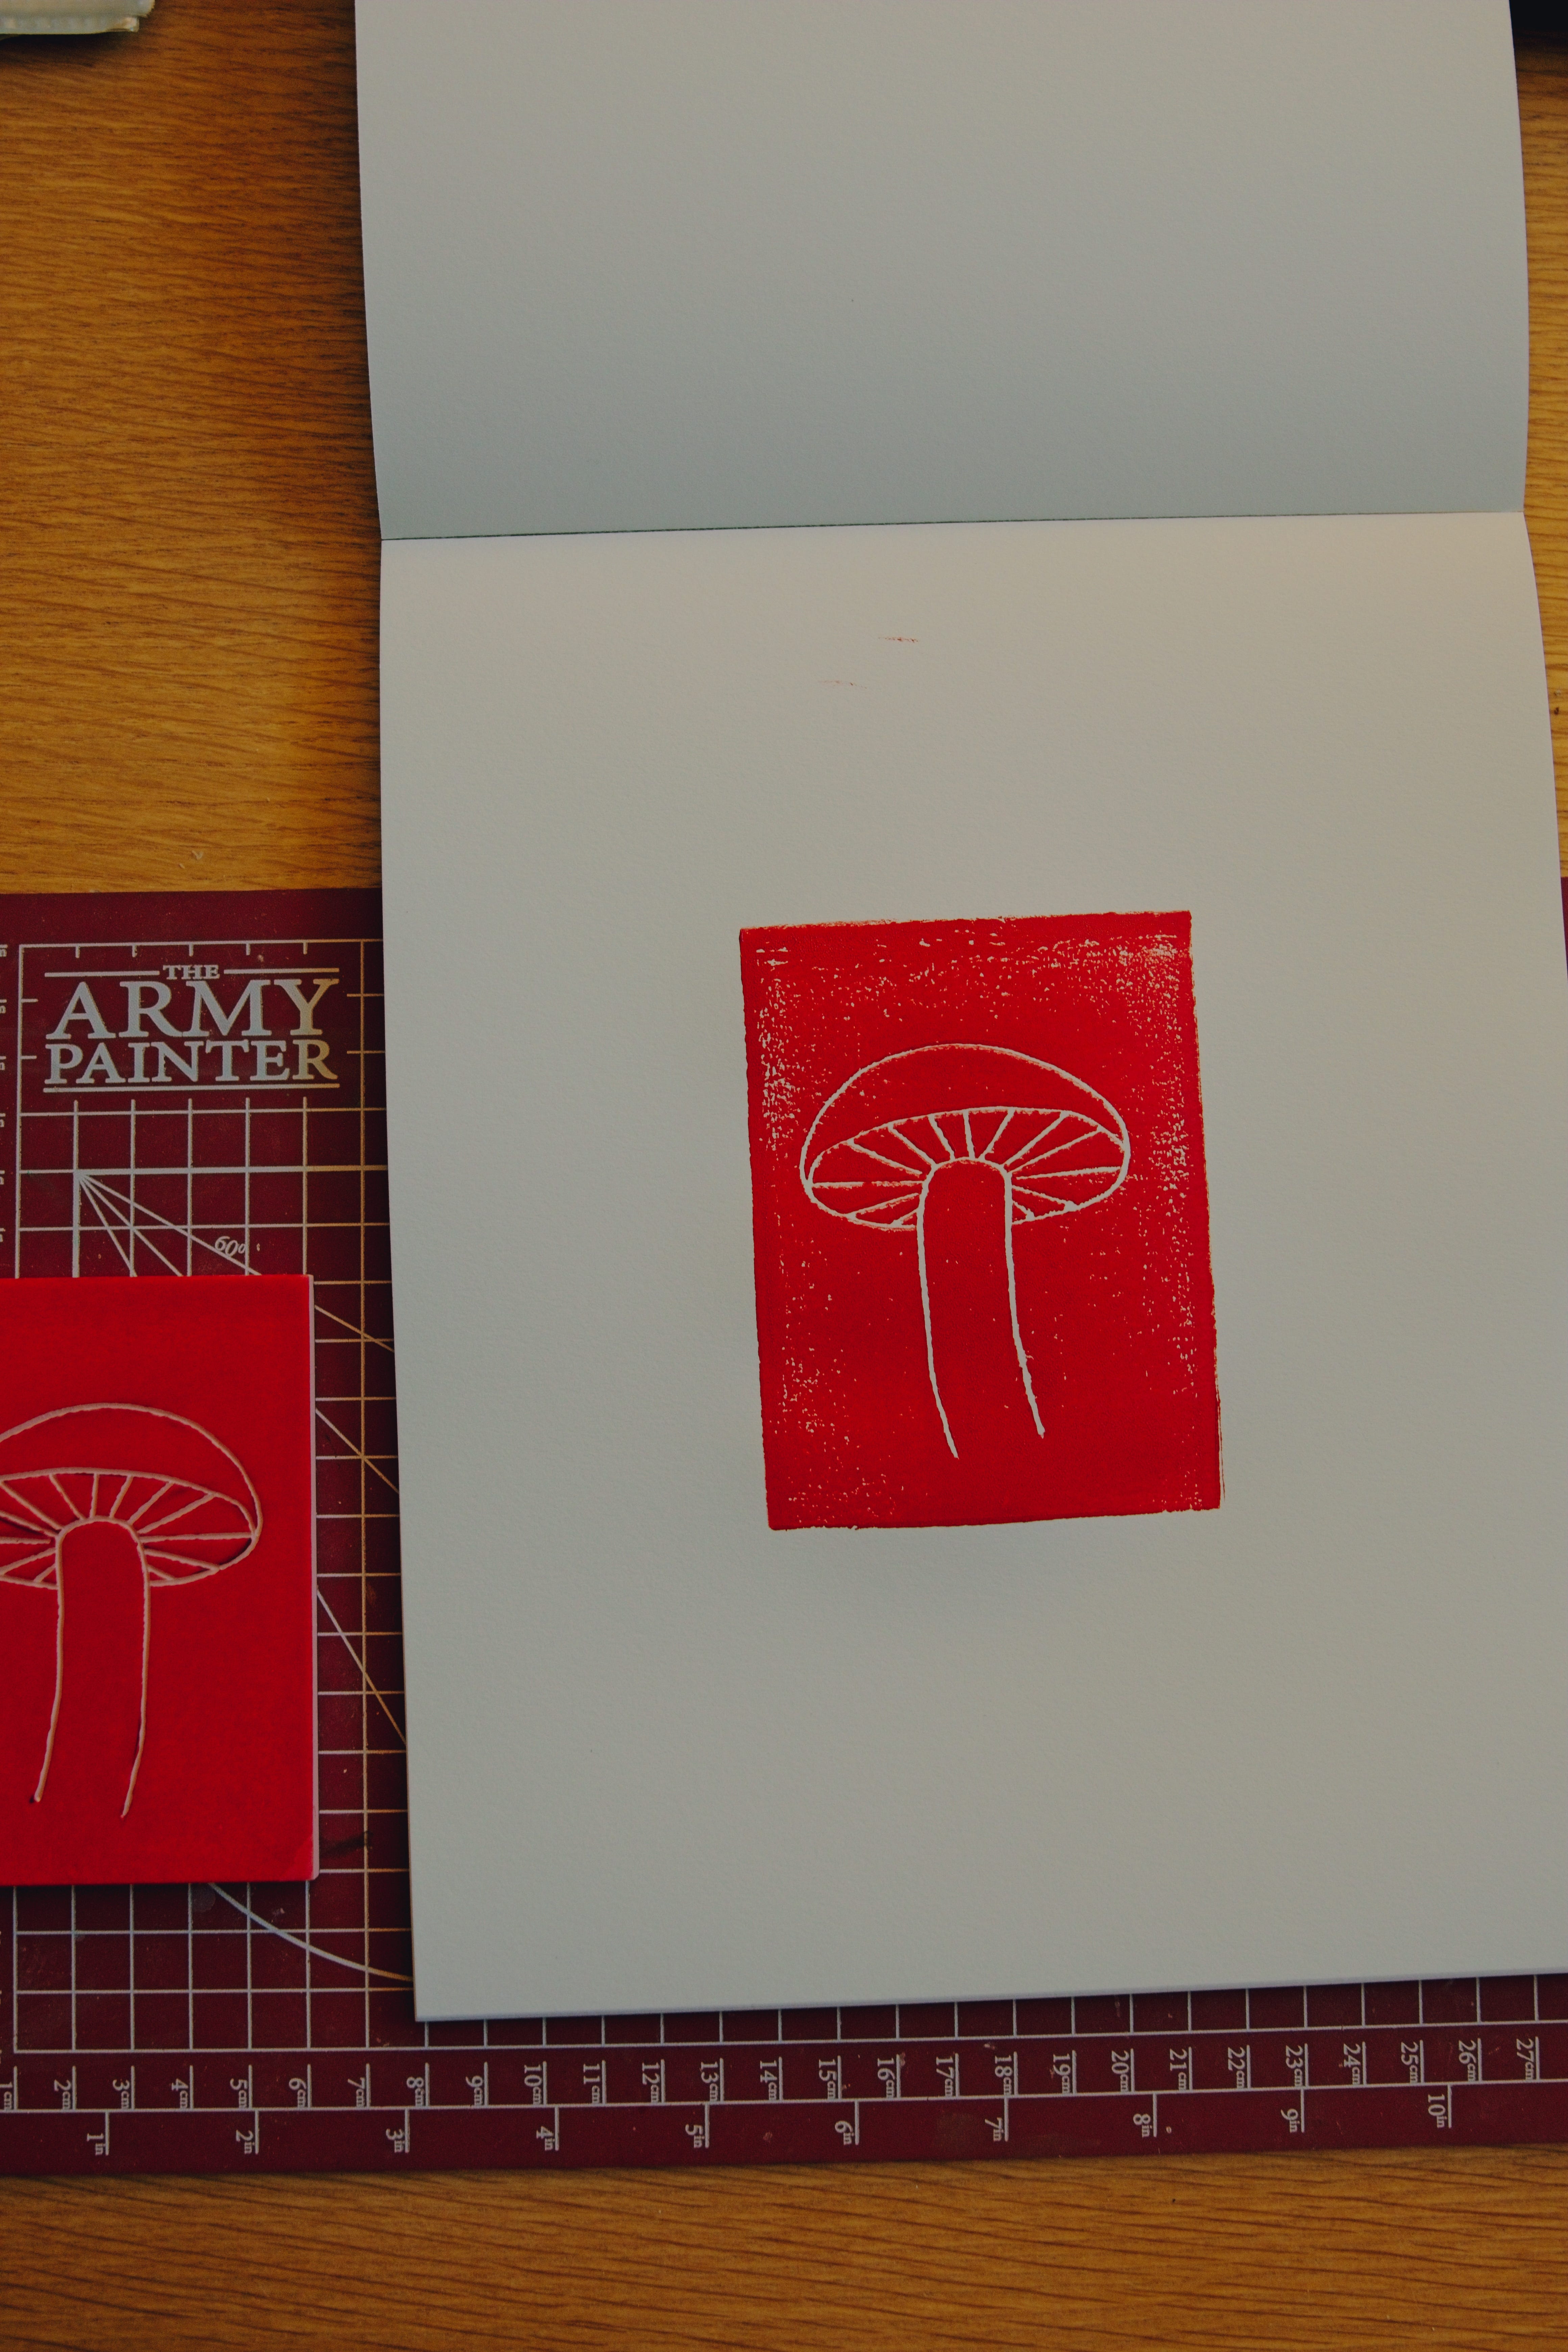
STEP 4: Ink your block. Squeeze some ink onto a piece of glass and roll your brayer in it like a paint roller until it’s lightly covered in ink. You’ll need to practice rolling the ink onto your design to figure out the technique that works. This is where having newsprint or scrap paper helps. Press your block onto your paper, then gently lift it away to reveal your print.
STEP 5: Wash your block with soap and water when you’re done using it.
PHOTOGRAPHY
Check out my website if you’re interested in documentary-style photography for your family or food business.
POSTCARD CLUB
The Postcard Club is a small group of people who get a signed photo print in their mailbox each month. You can use the cards as artwork or actually send them as postcards.
This is so cool! I want to do this with you!